WebSokcet

WebSocket 在前后端中的重要性是不能被忽视的。它是一种网络通信协议,可以用于实时双向通信。与传统的 HTTP 协议不同,WebSocket 连接是一直保持打开状态的,这意味着客户端和服务器可以随时向对方发送数据,而无需等待请求或响应。以下是 WebSocket 在前后端中的一些重要作用:
- 实时通信: 由于WebSocket连接是持久性的,客户端和服务器可以随时实时地通信。这使得它成为在需要实时数据的应用程序中(例如聊天应用程序或即时游戏)的首选选择。
- 较少的网络开销: WebSocket连接通过单一的HTTP握手来建立,这使得它比持续的HTTP请求/响应体系结构具有更少的网络开销。
- 节省服务器资源: 由于WebSocket连接保持打开状态,服务器不必承受每个传入请求的负担,因此可以节省服务器资源。
- 跨平台兼容性: WebSocket是一种跨平台的协议。它可以在所有的现代web浏览器上用于前端开发,同时可以用于后端开发的许多语言和框架。
后端中的 WebSocket
后端支持 WebSocket 的语言有很多,比如:
- Node.js: Node.js 是使用 JavaScript 构建的服务器端运行时环境,支持内置 WebSocket 模块。
- Java: Java 通过使用标准 WebSocket API,提供了支持 WebSocket 协议的库,如 Tyrus 和 Jetty。
- Python: Python 同样提供了一些 WebSocket 的库,如 Tornado 和 twisted。
- Ruby: Ruby 也有支持 WebSocket 的库,如 Faye 和 WebSocket-Ruby。
前端 WebSocket API
前端 WebSocket 是用来前端与后端 WebSocket 进行通信的对象,包括了这些 API:
- WebSocket(): 创建一个 WebSocket 实例。
- send(): 向服务端发送数据。
- close(): 关闭 WebSocket 连接。可以设置参数 code 表示关闭的状态码,reason 表示关闭的原因。
- addEventListener(): 监听 WebSocket 对象的事件,例如 open、message、error、close 等等。
前端使用 WebSocket 给后端发送不同数据格式的参数
接下来我们使用 Nodejs 来起一个 WebSocket 服务,并讲解一下 前后端如何通信不同的数据信息。
Text
后端 WebSocket 服务
const WebSocket = require("ws");
const wss = new WebSocket.Server({ port: 3001 });

wss.on("connection", function connection(ws) {
  console.log("Client Connected");

  ws.on("message", function incoming(message) {
    console.log("Received: %s", message);
    ws.send(`Server received: ${message}`);
  });
});
前端发送 Text 消息
const ws = new WebSocket("ws://localhost:3001");

ws.addEventListener("open", function () {
  console.log("Connected to Server");
});

ws.addEventListener("message", function (event) {
  console.log("Received from Server:", event.data);
});

const message = "Hello, Server!";
ws.send(message);
JSON
后端 WebSocket 服务
const WebSocket = require("ws");
const wss = new WebSocket.Server({ port: 3001 });

wss.on("connection", function connection(ws) {
  console.log("Client Connected");

  ws.on("message", function incoming(message) {
    console.log("Received: %s", message);
    const obj = JSON.parse(message);
    obj.source = "Server";
    ws.send(JSON.stringify(obj));
  });
});
前端发送 Text 消息
const ws = new WebSocket("ws://localhost:3001");

ws.addEventListener("open", function () {
  console.log("Connected to Server");
});

ws.addEventListener("message", function (event) {
  console.log("Received from Server:", event.data);
});

const obj = { text: "Hello", sender: "Client" };
ws.send(JSON.stringify(obj));
XML
后端 WebSocket 服务
const WebSocket = require("ws");
const wss = new WebSocket.Server({ port: 3001 });

wss.on("connection", function connection(ws) {
  console.log("Client Connected");

  ws.on("message", function incoming(message) {
    console.log("Received: %s", message);
    const xmlDoc = new DOMParser().parseFromString(message, "text/xml");
    ws.send(xmlDoc.getElementsByTagName("message")[0].textContent);
  });
});
前端发送 Text 消息
const ws = new WebSocket("ws://localhost:3001");

ws.addEventListener("open", function () {
  console.log("Connected to Server");
});

ws.addEventListener("message", function (event) {
  console.log("Received from Server:", event.data);
});

const xmlString = `
<message>
  <text>Hello</text>
  <sender>Client</sender>
</message>
`;
ws.send(xmlString);
HTML
后端 WebSocket 服务
const WebSocket = require("ws");
const wss = new WebSocket.Server({ port: 3001 });

wss.on("connection", function connection(ws) {
  console.log("Client Connected");

  ws.on("message", function incoming(message) {
    console.log("Received: %s", message);
    const domParser = new DOMParser();
    const doc = domParser.parseFromString(message, "text/html");
    ws.send(doc.querySelector("h1").textContent);
  });
});
前端发送 Text 消息
const ws = new WebSocket("ws://localhost:3001");

ws.addEventListener("open", function () {
  console.log("Connected to Server");
});

ws.addEventListener("message", function (event) {
  console.log("Received from Server:", event.data);
});

const htmlString = "<h1>Hello Server!</h1>";
ws.send(htmlString);
Binary
后端 WebSocket 服务
const WebSocket = require("ws");
const wss = new WebSocket.Server({ port: 3001 });

wss.on("connection", function connection(ws) {
  console.log("Client Connected");

  ws.on("message", function incoming(message) {
    console.log("Received: %s", message);
    const buffer = Buffer.from(message, "binary");
    ws.send(buffer);
  });
});
前端发送 Text 消息
const ws = new WebSocket("ws://localhost:3001");

ws.addEventListener("open", function () {
  console.log("Connected to Server");
});

ws.addEventListener("message", function (event) {
  console.log("Received from Server:", event.data);
});

const buffer = new Uint8Array([1, 2, 3, 4, 5]);
ws.send(buffer);
怎么调试 WebSocket 请求呢?
如果你写了一个 WebSocket 服务,想要去调试,看看是否符合你的预期,那你可以选择一些 API 工具去进行此操作,今天给大家带来一款非常出色的 API 工具 —— Apifox ,我用它来进行 WebSocket 调试~
怎么使用 Apifox 调试 WebSocket 呢
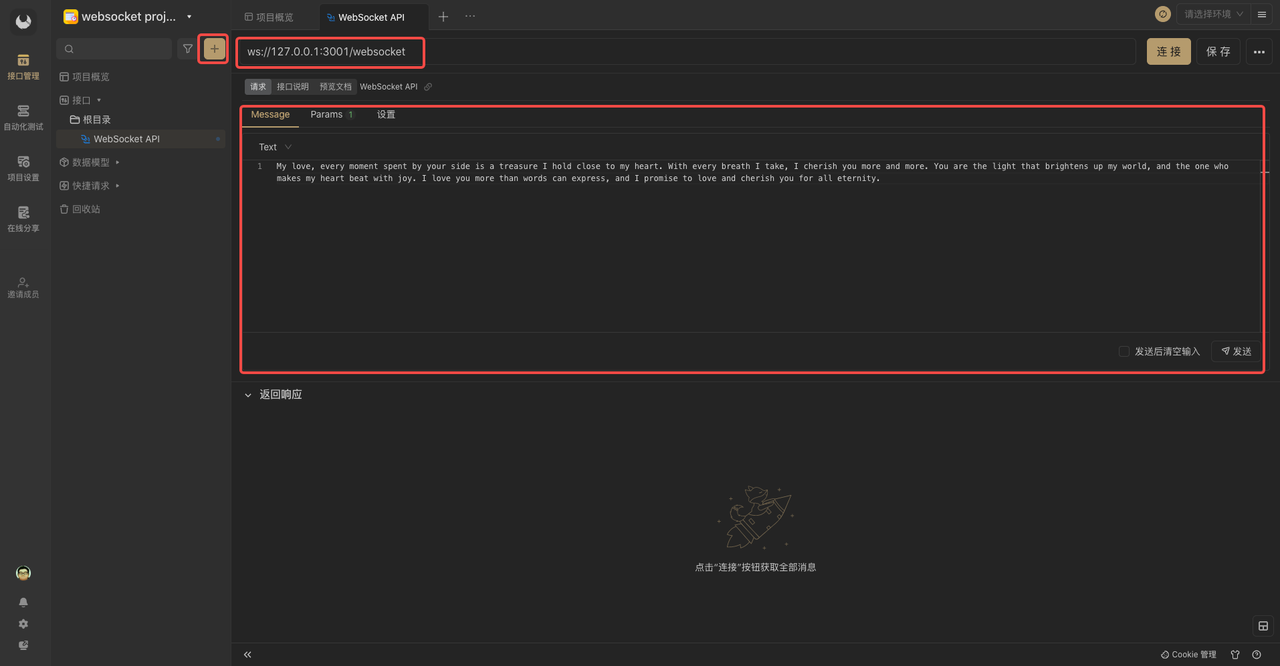
先创建一个 WebSocket 请求
我们可以使用 Apifox 建立 WebSocket 服务的连接,你也可以填入消息、参数,这样你发送的时候就会传到服务端那边去,这是前提条件。
消息的发送 和 参数的传递
消息的发送
在 Message 中,你可以填写需要传递到服务端的 WebSocket 消息。
参数的传递
看到 Params 选项卡了吗,这个是专门为了参数传递而设置的选项卡~大家可以好好利用它来进行参数的传递。

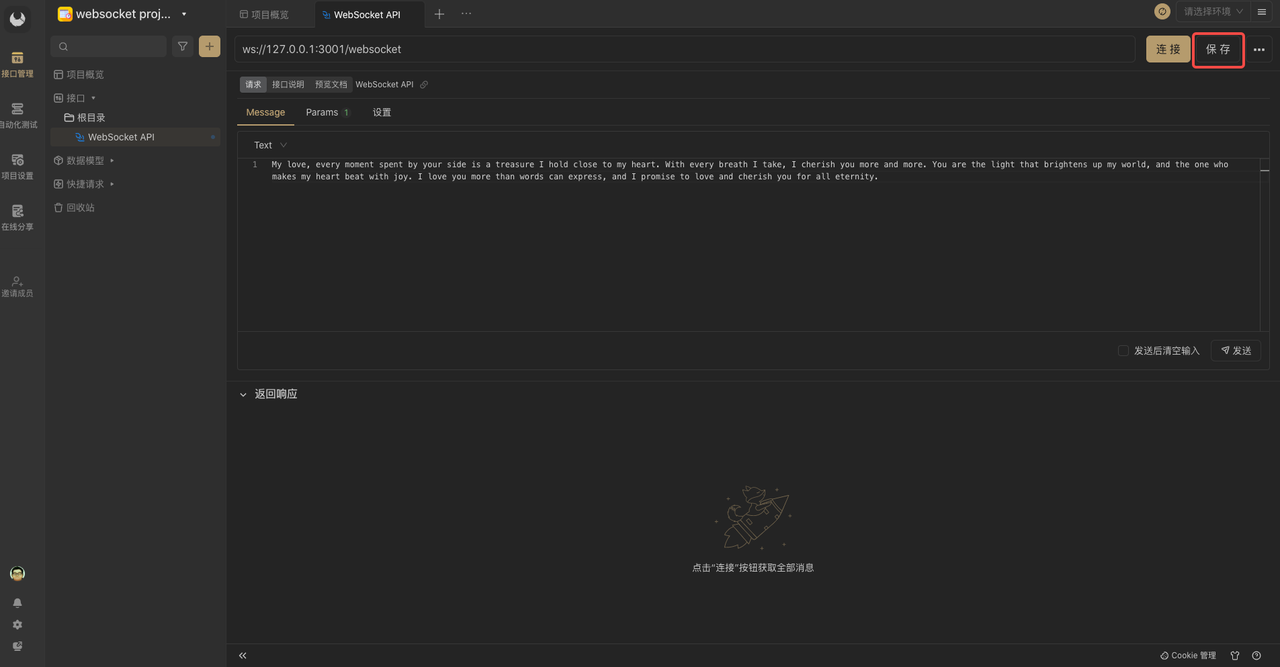
保存请求
写完所需信息之后,可以点击 保存按钮,进行保存,方便下次可继续调用。
进行连接、发送 WebSocket 请求
开始连接服务
点击连接按钮,即可连接 WebSocket 服务。
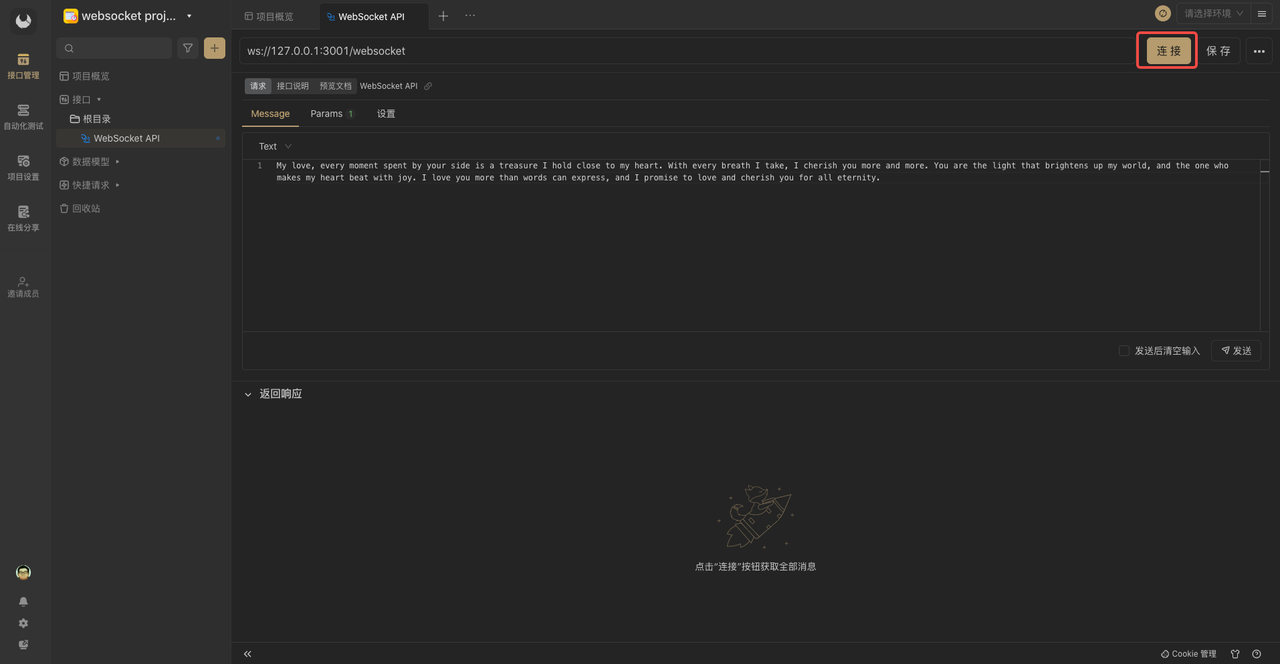
我们可以看到连接成功提示。

服务端那边也会因为连接成功,而做出响应。
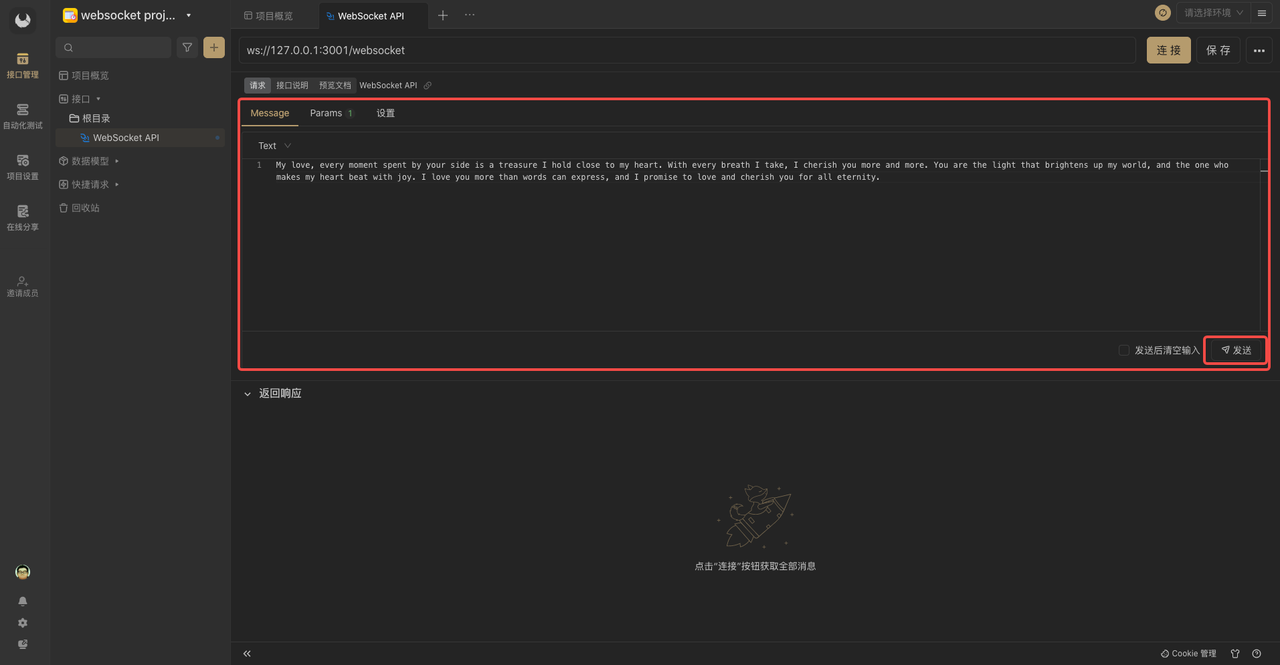
发送 WebSocket 请求
发送 WebSocket 请求,我们需要点击 发送 按钮。这时会携带 消息、参数到服务端那边去。

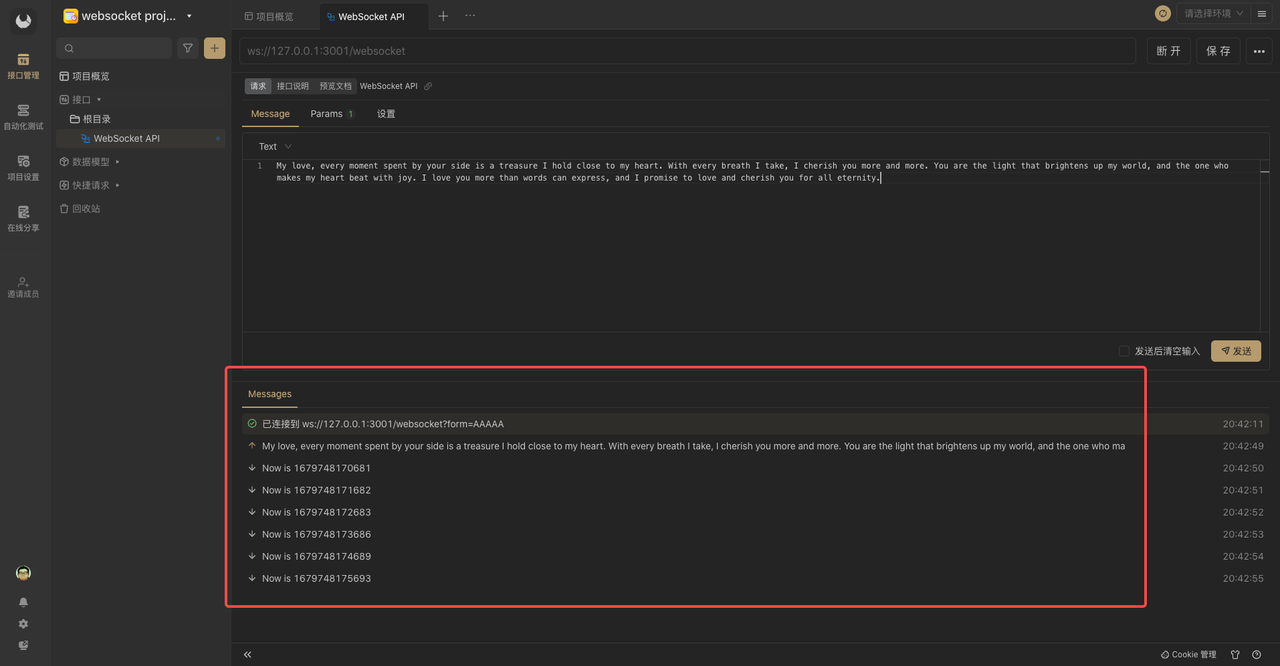
与 WebSocket 服务通信
发送之后,服务端也可以向客户端发送信息,例如我这里,我设置服务端每秒向客户端发送当时的时间戳~ Apifox 的 WebSocket 功能果然非常方便。
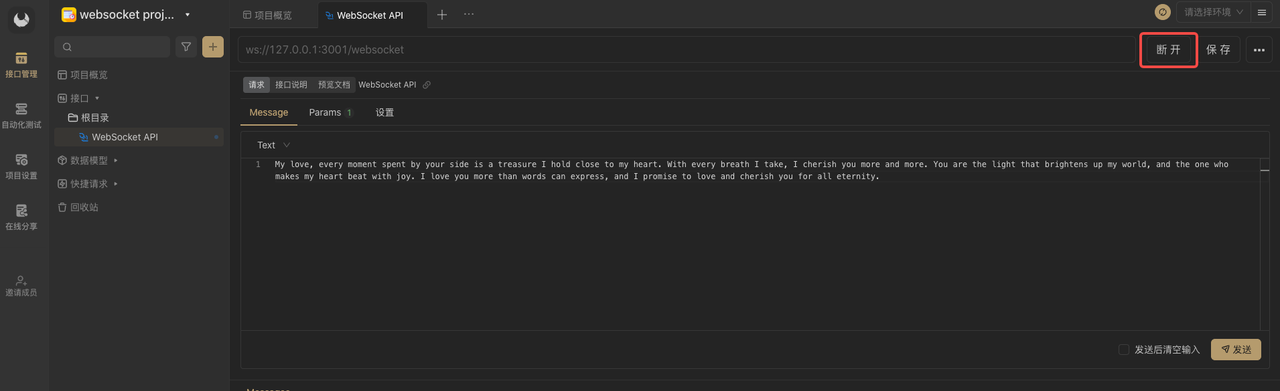
与 WebSocket 断开连接
如果不想连接了,可以点击断开按钮即可断开连接。

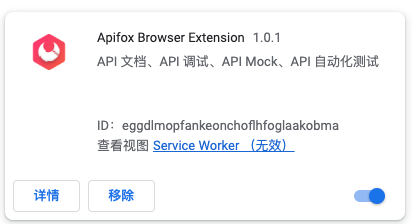
注意点!!!
Apifox 是一个跨端工具,有客户端和 Web 端,如果你用的 Web 端想要调试本地起的 WebSocket 服务的话,我建议你安装一下 Apifox 谷歌浏览器插件。
认识一下 Apifox
Apifox 是一个全方位的 API 管理平台,使开发人员可以轻松创建、管理和部署 RESTful API。该平台提供各种工具和功能,包括 API 文档、调试、API Mock 等功能。通过 Apifox,开发人员可以专注于构建出色的产品,而不必担心 API 管理的复杂性~点击免费使用。